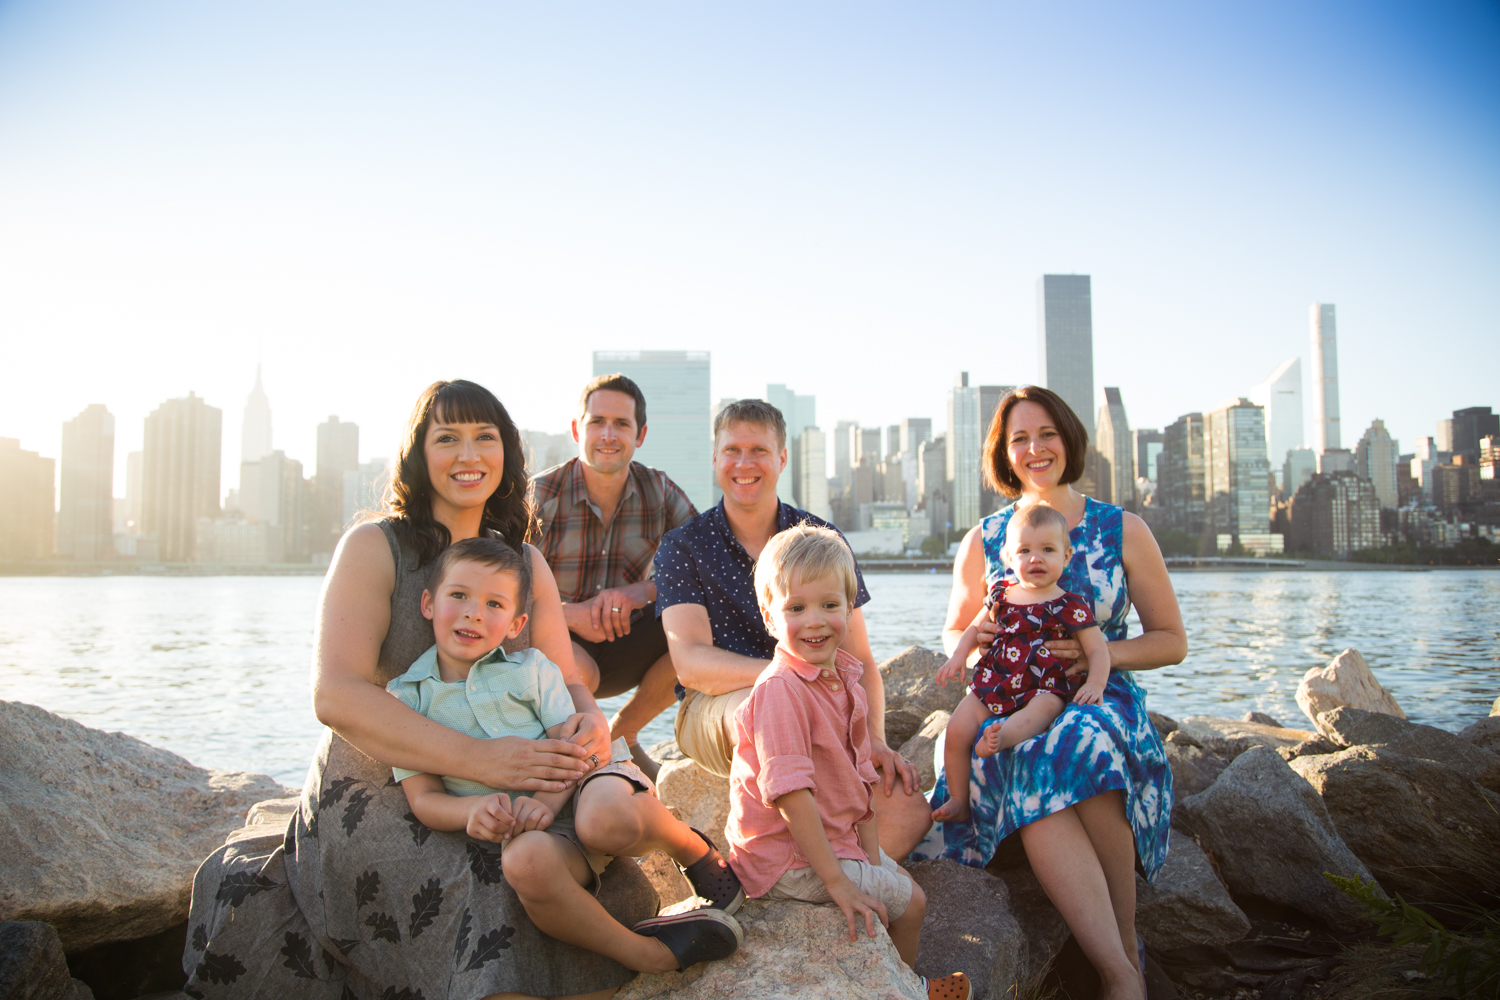
Have a family reunion coming up soon? Or are you a photographer who wants to get organized but less stuffy-looking family group photos? Here are some tips we’ve put together for getting a great, effortless-looking group shot.
All photos copyright of arthouse images.
TIP #1: BUILD THE SHOT FROM THE MIDDLE.
Have the ‘guest(s) of honor’ or otherwise most important person/people enter the frame and situate them in the center first. From there, build the group by allowing the other most important people stand or sit nearest to them. Continue adding outwards. After practicing this a few times, you’ll be able to arrange a group instinctually, like a florist.
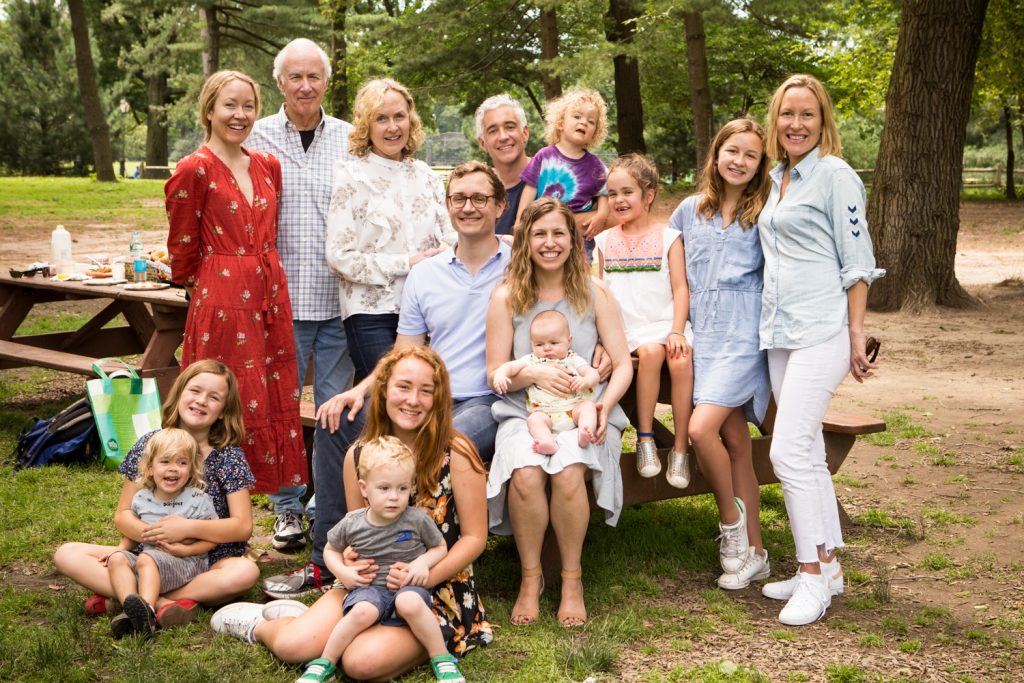
TIP #2: STAGGER HEADS.
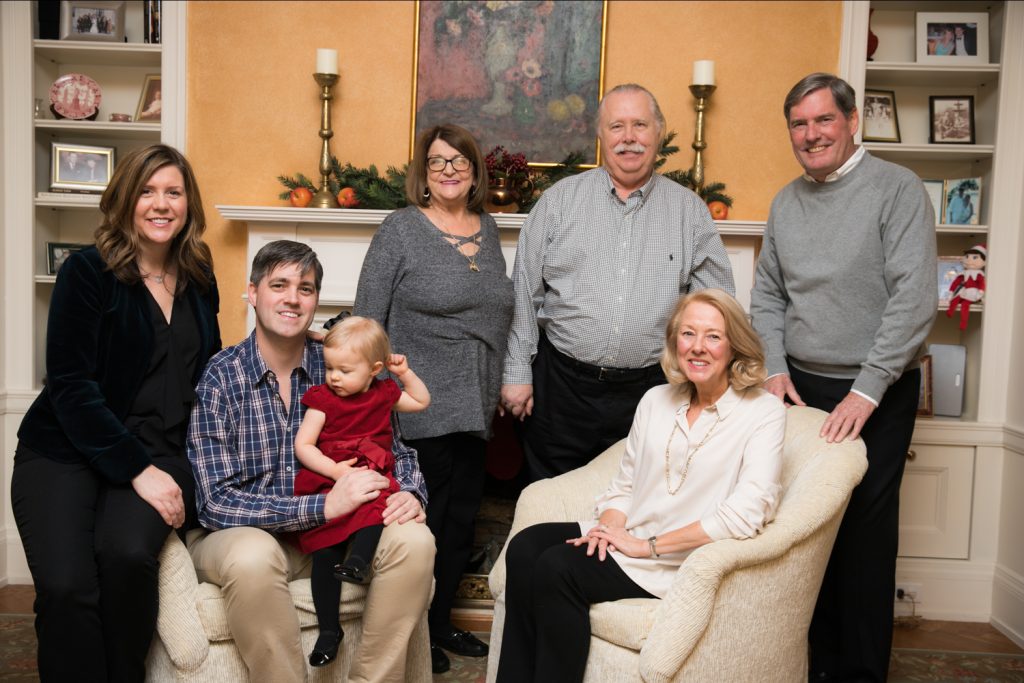
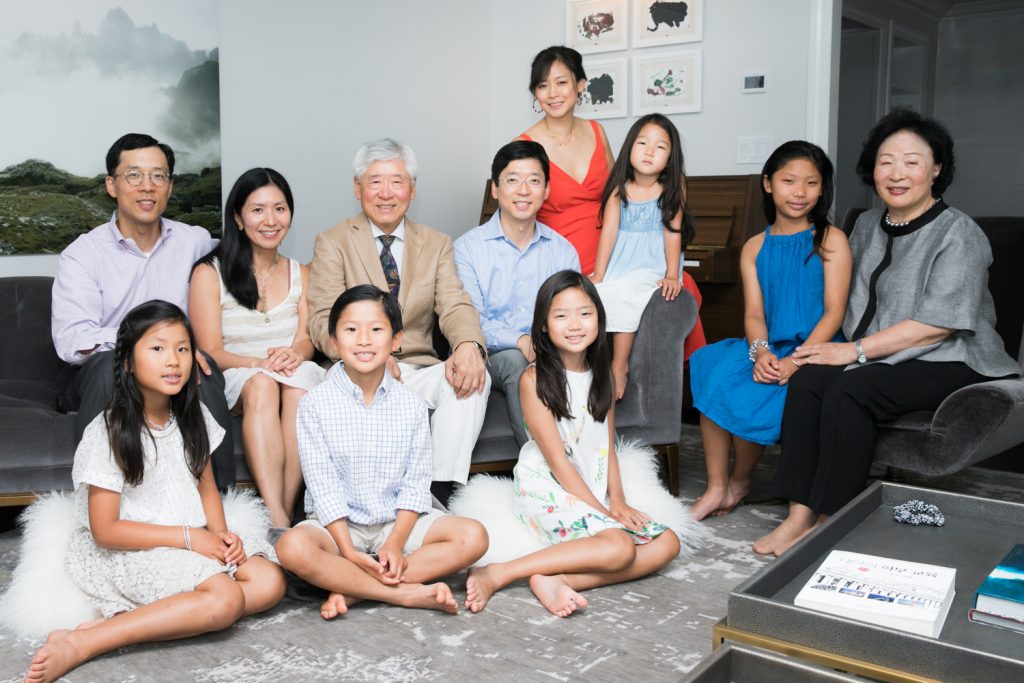
Use chairs, stairs, tables, and geological features to get people’s heads staggered at different heights. This is key. A row of heads all at the same level may work all right for a small group of people, but if the row gets too long, you end up with a lot of wasted space at the top and bottom of the frame and a narrow line of people in the middle. It’s much more visually pleasing to have people’s faces at different levels, and you’ll fill the frame or otherwise get a better composition that way, as well.
If there is a variety of heights in the group, this makes your job easier:


TIP #3: ANGLE BODIES.
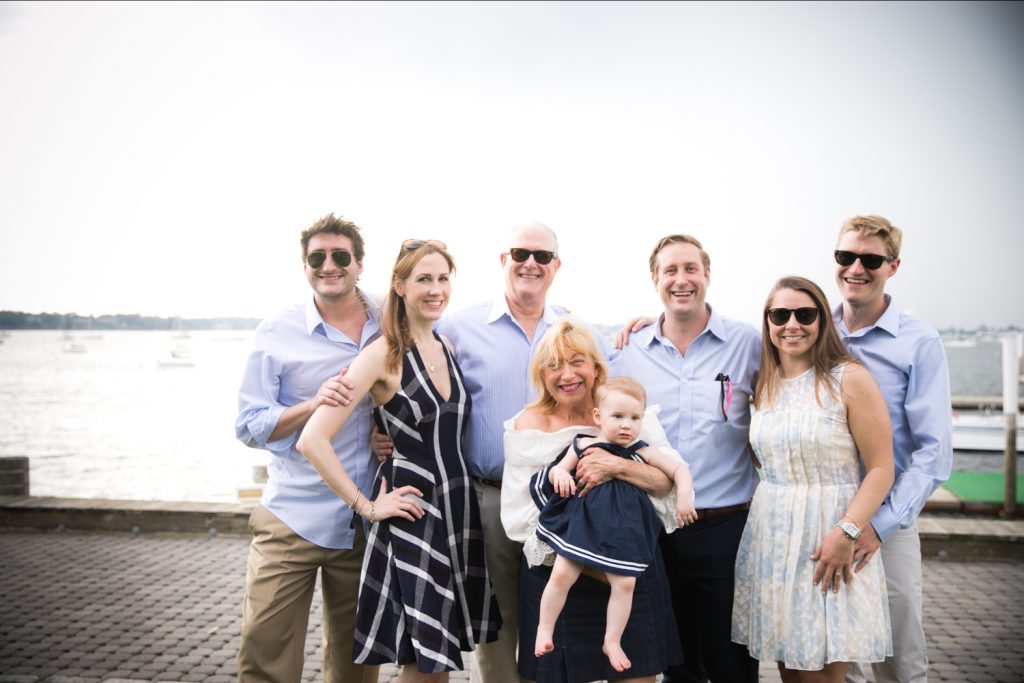
Experiment with having people face their bodies in different directions, especially if the setting makes it difficult to get people at different heights. This is another way of creating visual interest. For example, you could pick a focal point and have people angle their bodies toward that point. Setting the focal point at the center will create a more formal look, while setting it slightly off center creates a more relaxed look. Any way you mix it, angling bodies creates a more stylized look and is also flattering for the individuals.
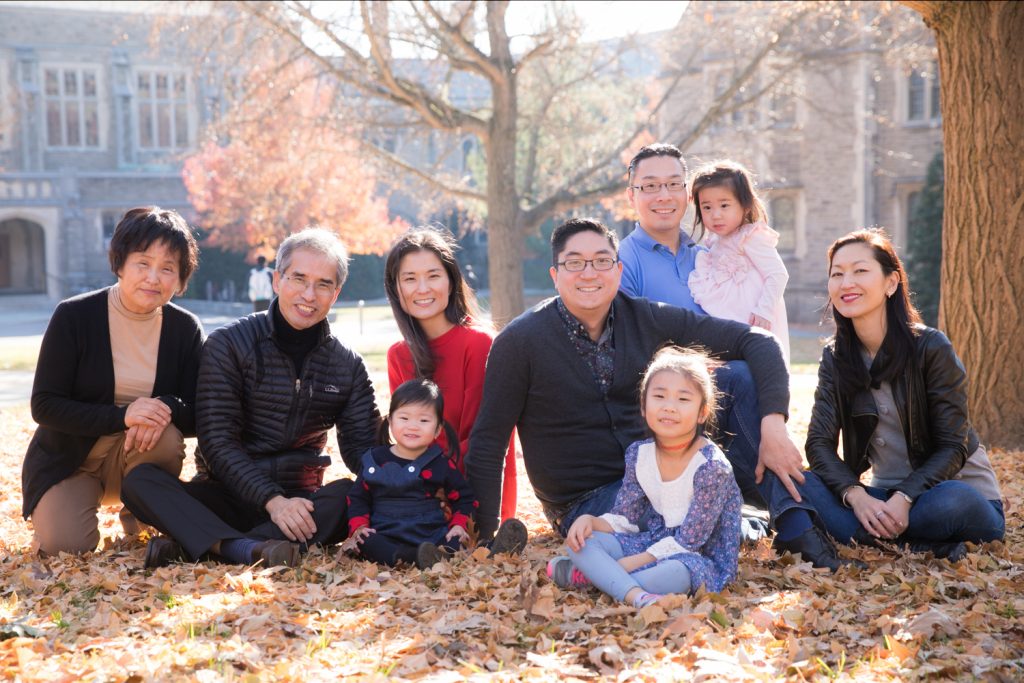
TIP #4: GET COZY.
If you can see any space between the subjects, encourage them to fill in the gaps. Not everybody may feel super close interpersonally, but visual gaps between people for no particular reason can end up looking awkward. Close people = happy-looking people!

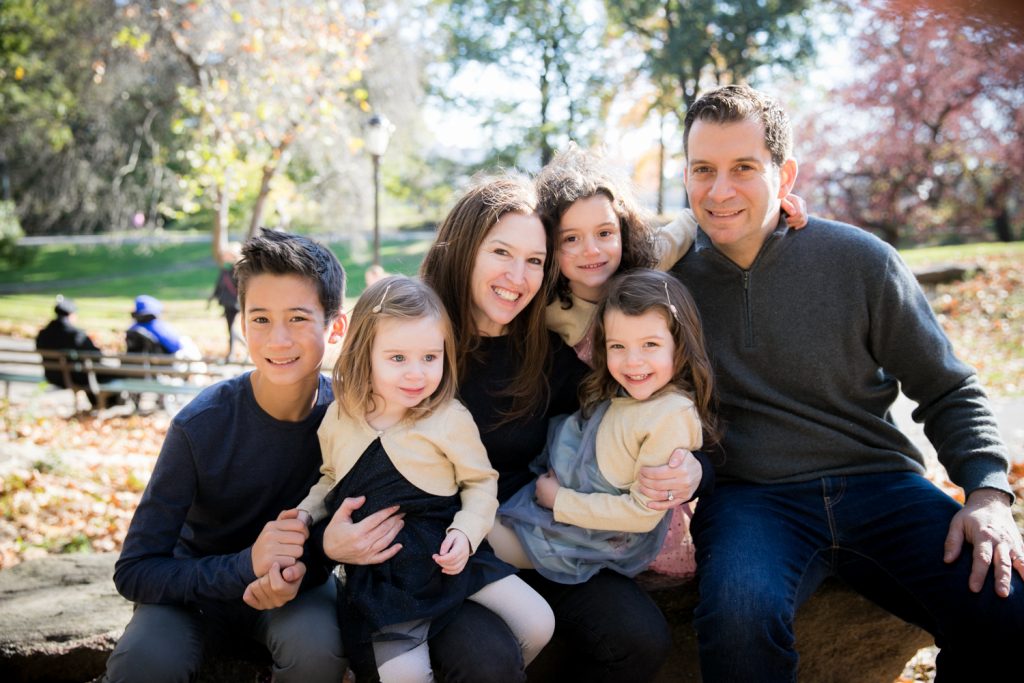
TIP #5: HELP PEOPLE LOOSEN UP.
Don’t let anyone ‘figleaf’ (i.e., clasp their hands in front of them), and encourage them to unlock their knees, perhaps by asking them to shift their weight more onto one leg.

TIP #6: CLOSE DOWN YOUR F-STOP.
There’s the artistic stuff and then there’s the technical stuff. If you are using a camera with manual settings, close down your aperture to increase the depth of field so all of the faces are sharp. If you have people at varying distances from the camera, you don’t want some faces to be sharp and others blurry, especially if you’ve just finished taking some more artistic shots with a shallow depth of field. You might need a tripod to stabilize the camera if you end up with a shutter speed that’s longer than 1/125 sec.
TIP #7: SNAP AWAY.
This is possibly your one chance to get everyone in the group together, so don’t hold back– it’s time to go full-on paparazzi mode. If it’s a large group, there are going to be some blinks or turned heads in some of the shots. If you know a thing or two about how to use Photoshop, you can easily swap out heads later if you have different people blinking in each photo, but you have to have the right shots to use in the first place. Here’s a screenshot of our workspace from one recent family session. Going on file numbers, it looks like we took at least 23 shots of this group pose (the photos were culled before this screenshot):

As with everything else that’s art-related, rules are made to be broken, and many of the photos above don’t obey all of the rules at the same time. The magic happens when you can incorporate some of these ideas with the concepts that make all great photographs great– lighting, composition, etc.! Make sure to grab some fun casual and candid shots of everyone, and if you would rather hire a pro to do this in the NYC area, contact us!
